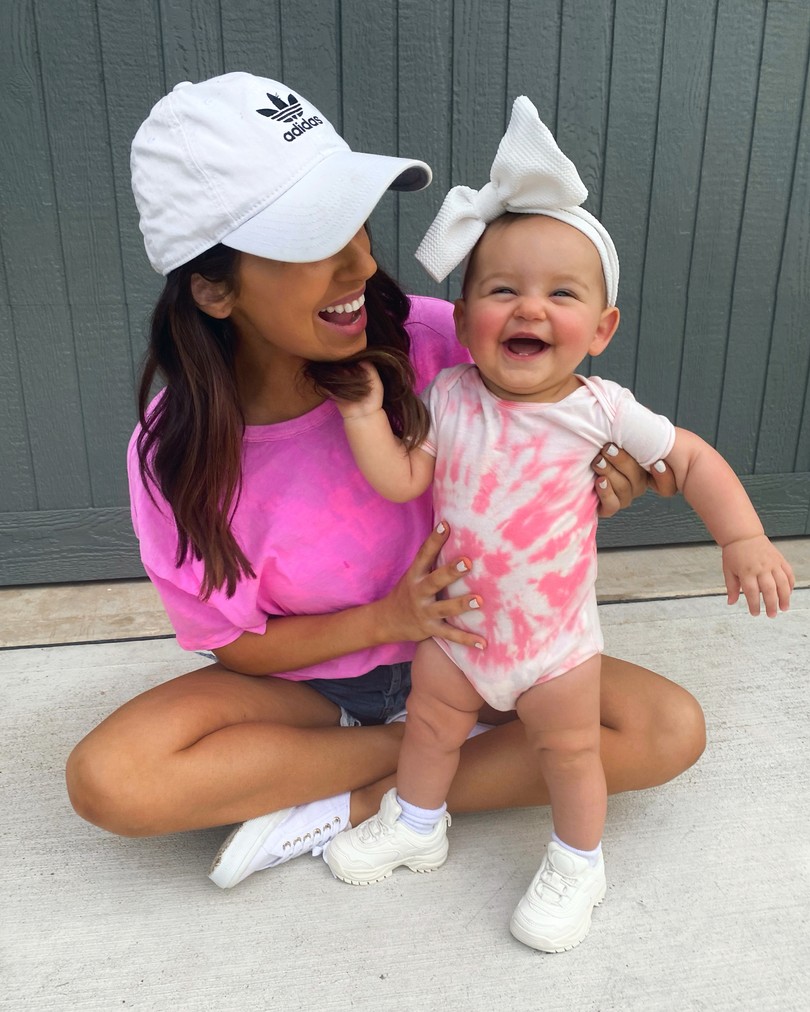
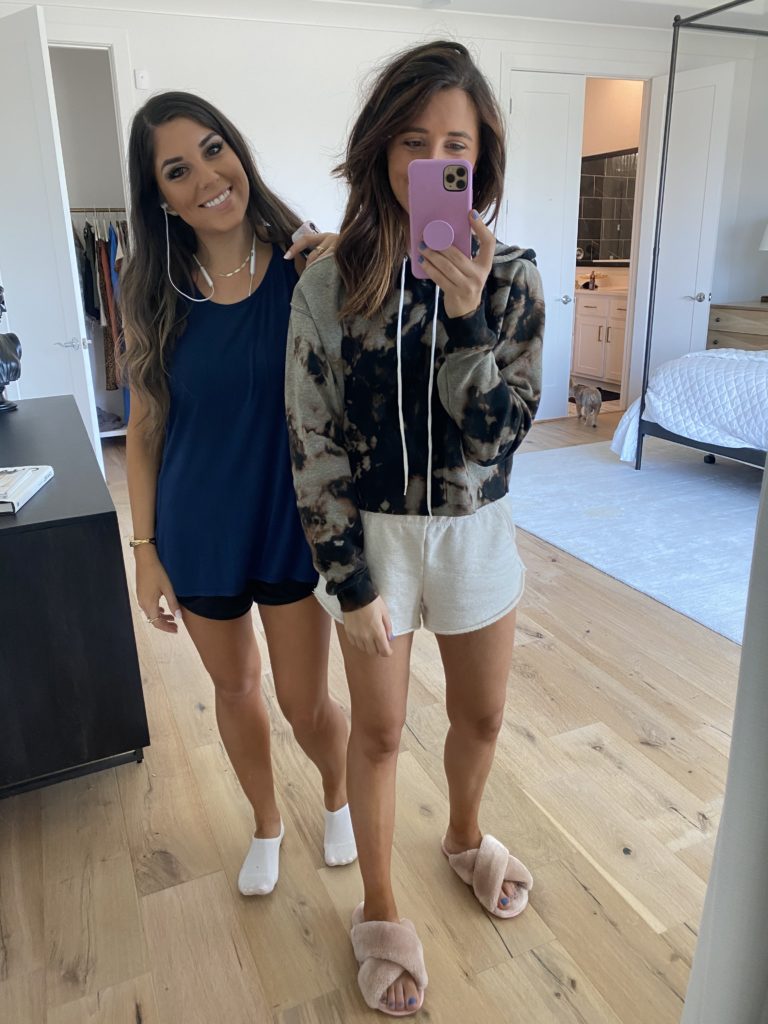
Decided to keep the crafting going and try out some tie dye! This is such a popular trend right now that I feel like everything tie dye is selling out. So why not just make it ourselves?! This would be fun to do with your kiddos, mom, sister or really anyone. I can’t wait till Rosie is old enough to do it with me but until then I just took one of her onesies and did it for her lol. I tried out tie dying with bleach and also a tie dye kit I got on Amazon. I’ve shown both below and in the video!
*Cropped black hoodie $18 & pink tee $15!
Full video tutorial at bottom of the post
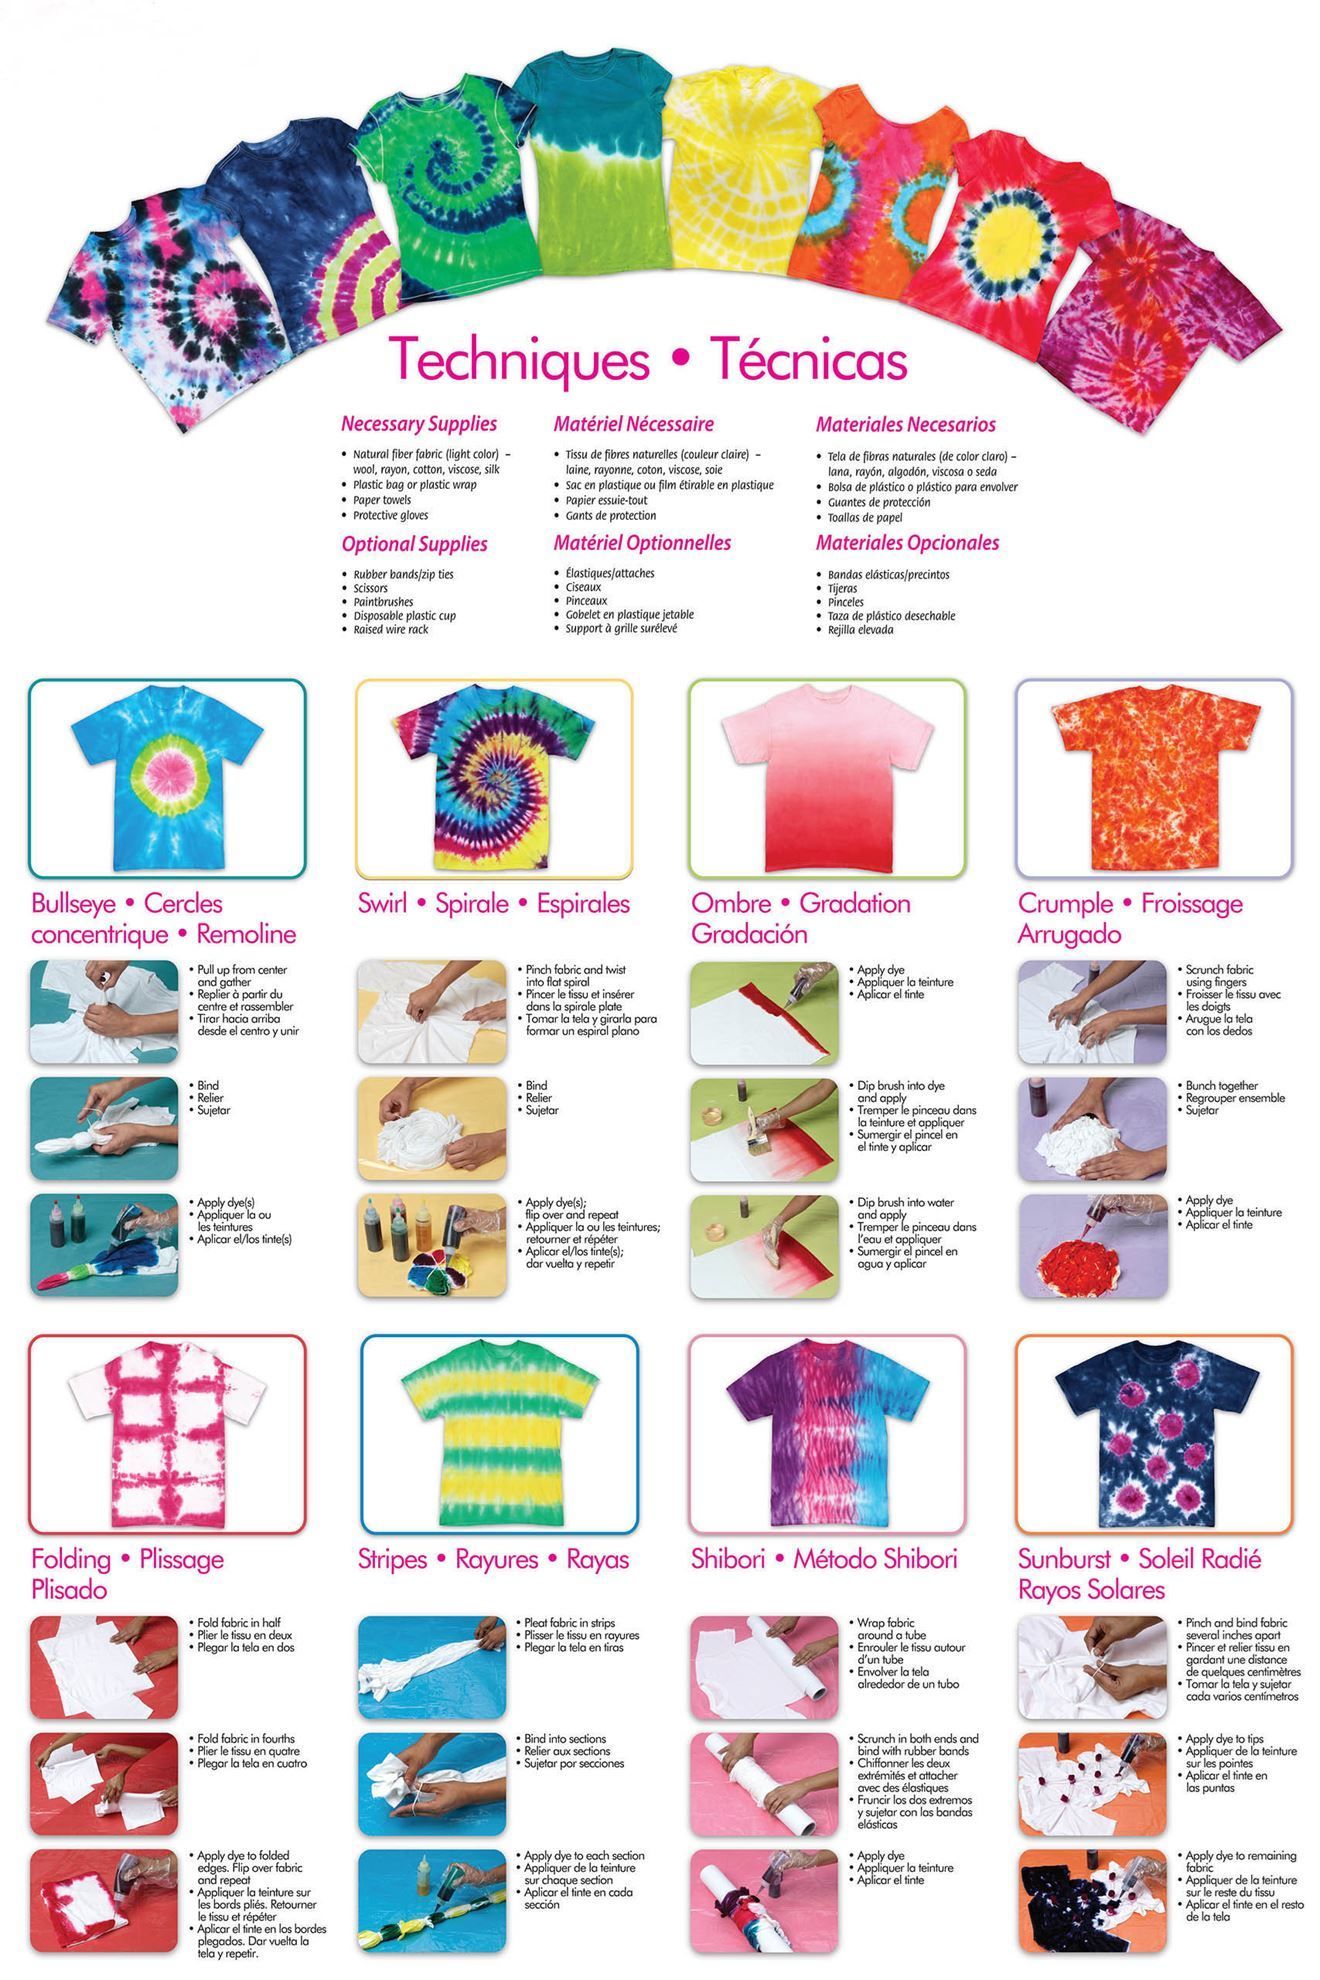
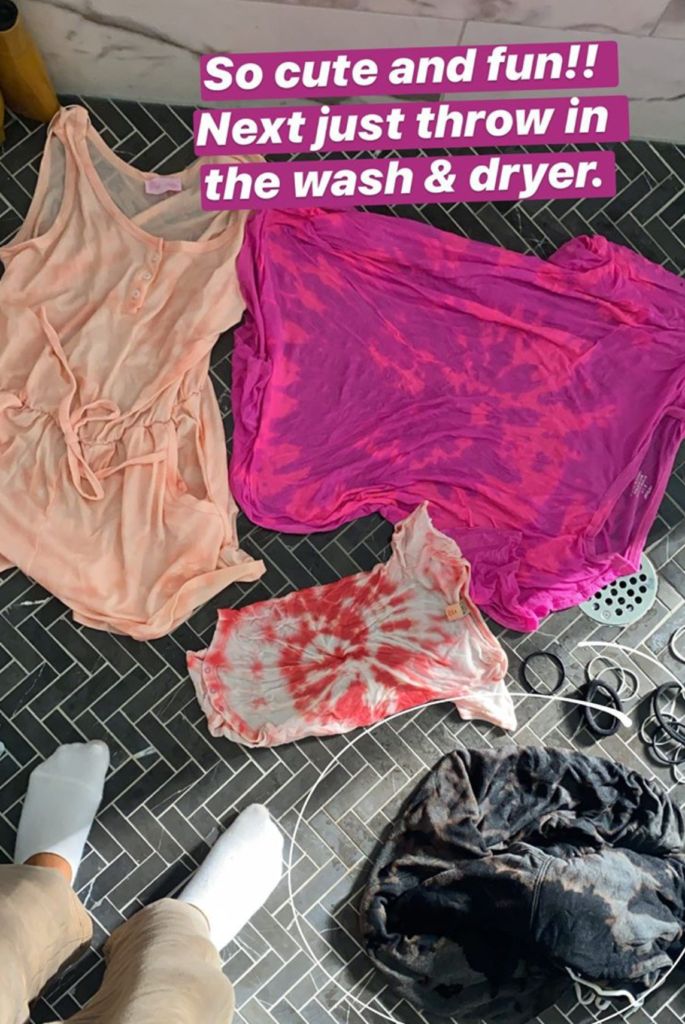
To start, you’re going to want to decide what design you want and then use the technique to create it as shown in the photo below. With the bleach you may not be able to do all of the techniques but it could work with most. I went with the the standard swirl for the bleach then stripes and the ombre for colors!
Bleach Tie Dye Method
What You’ll Need:
- Bleach(not diluted)
- Gloves
- Rubber Bands
- Bottle (I used a water bottle)
- Fork – Optional – Some of y’all suggested using a fork to help twist into a ball
- Clothing piece of your choice
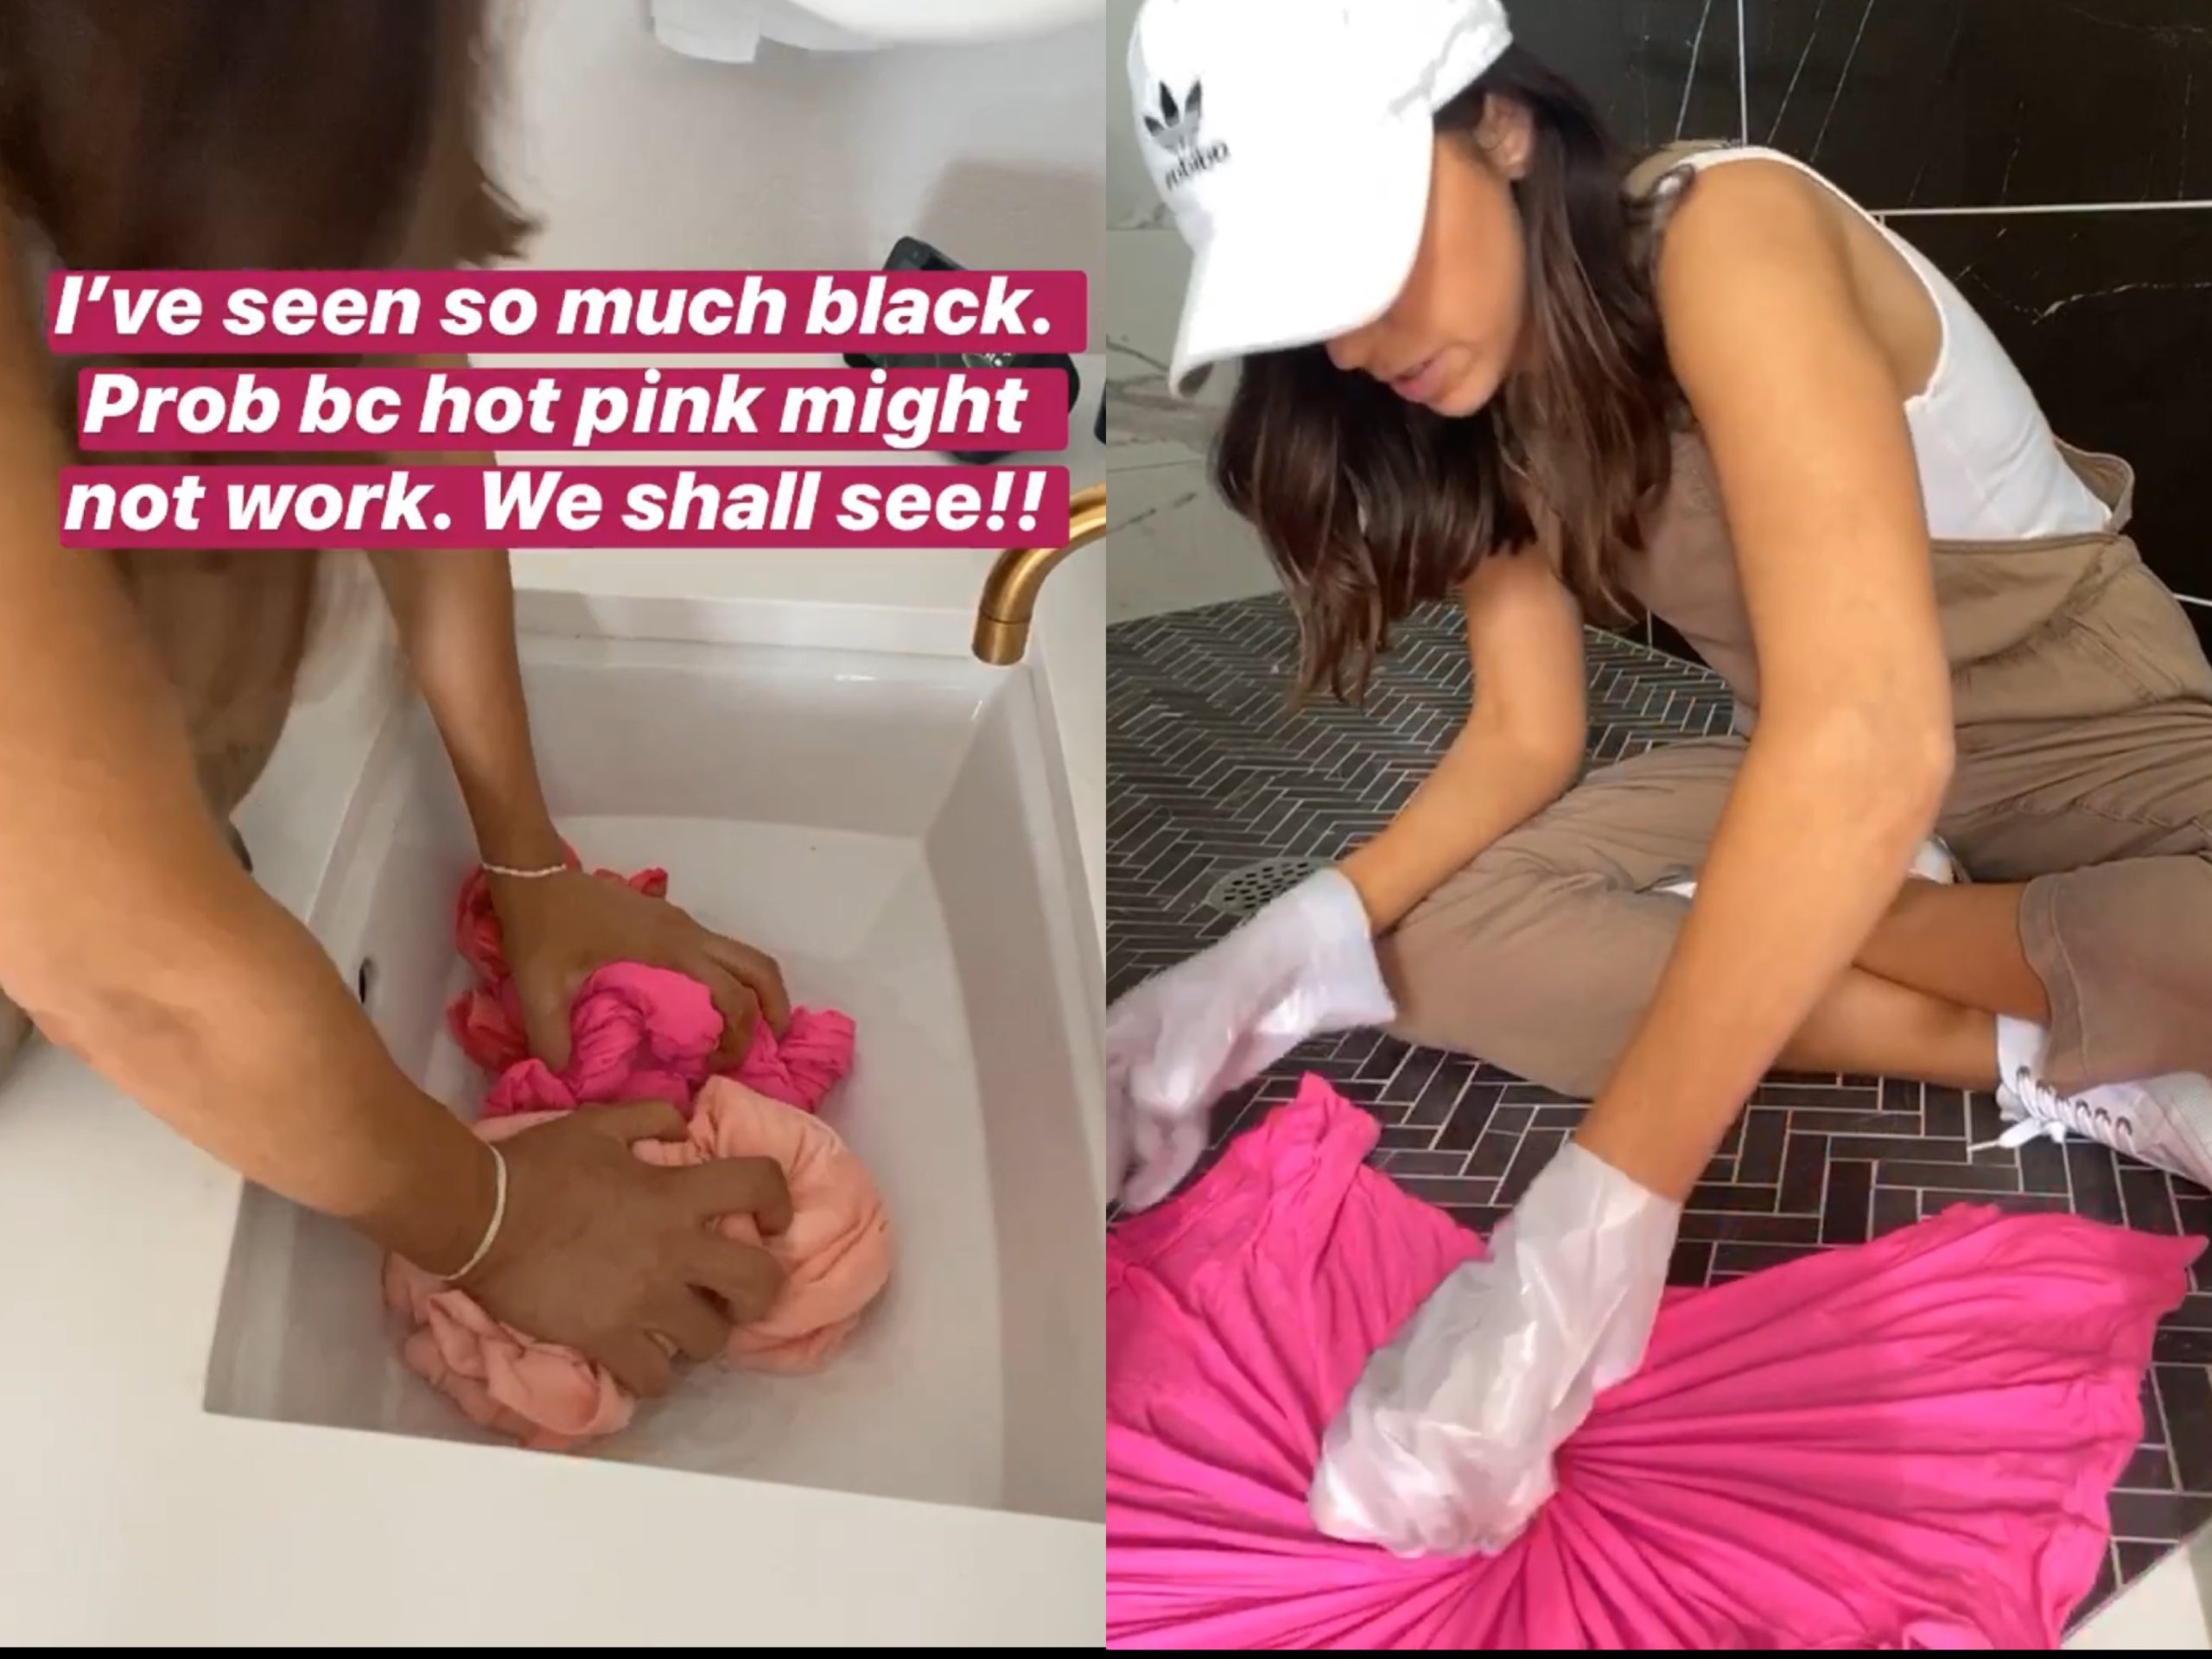
This method is super easy and you most likely already have everything to make it in your house! You start out by soaking the shirt in water and then squeezing it out so that the entire piece is wet but not dripping. Then you lay out the shirt flat and begin to twist from the middle. I got a lot of messages from you guys that a fork works really well with this.
Once your shirt is twisted you’re going to squish it into a little ball and use the rubber bands to keep it in place. After that you soak each side in bleach and leave it for an hour then wash! For the black I wish I would have put it in the sun and left it for a little longer so it wasn’t so orange/brown!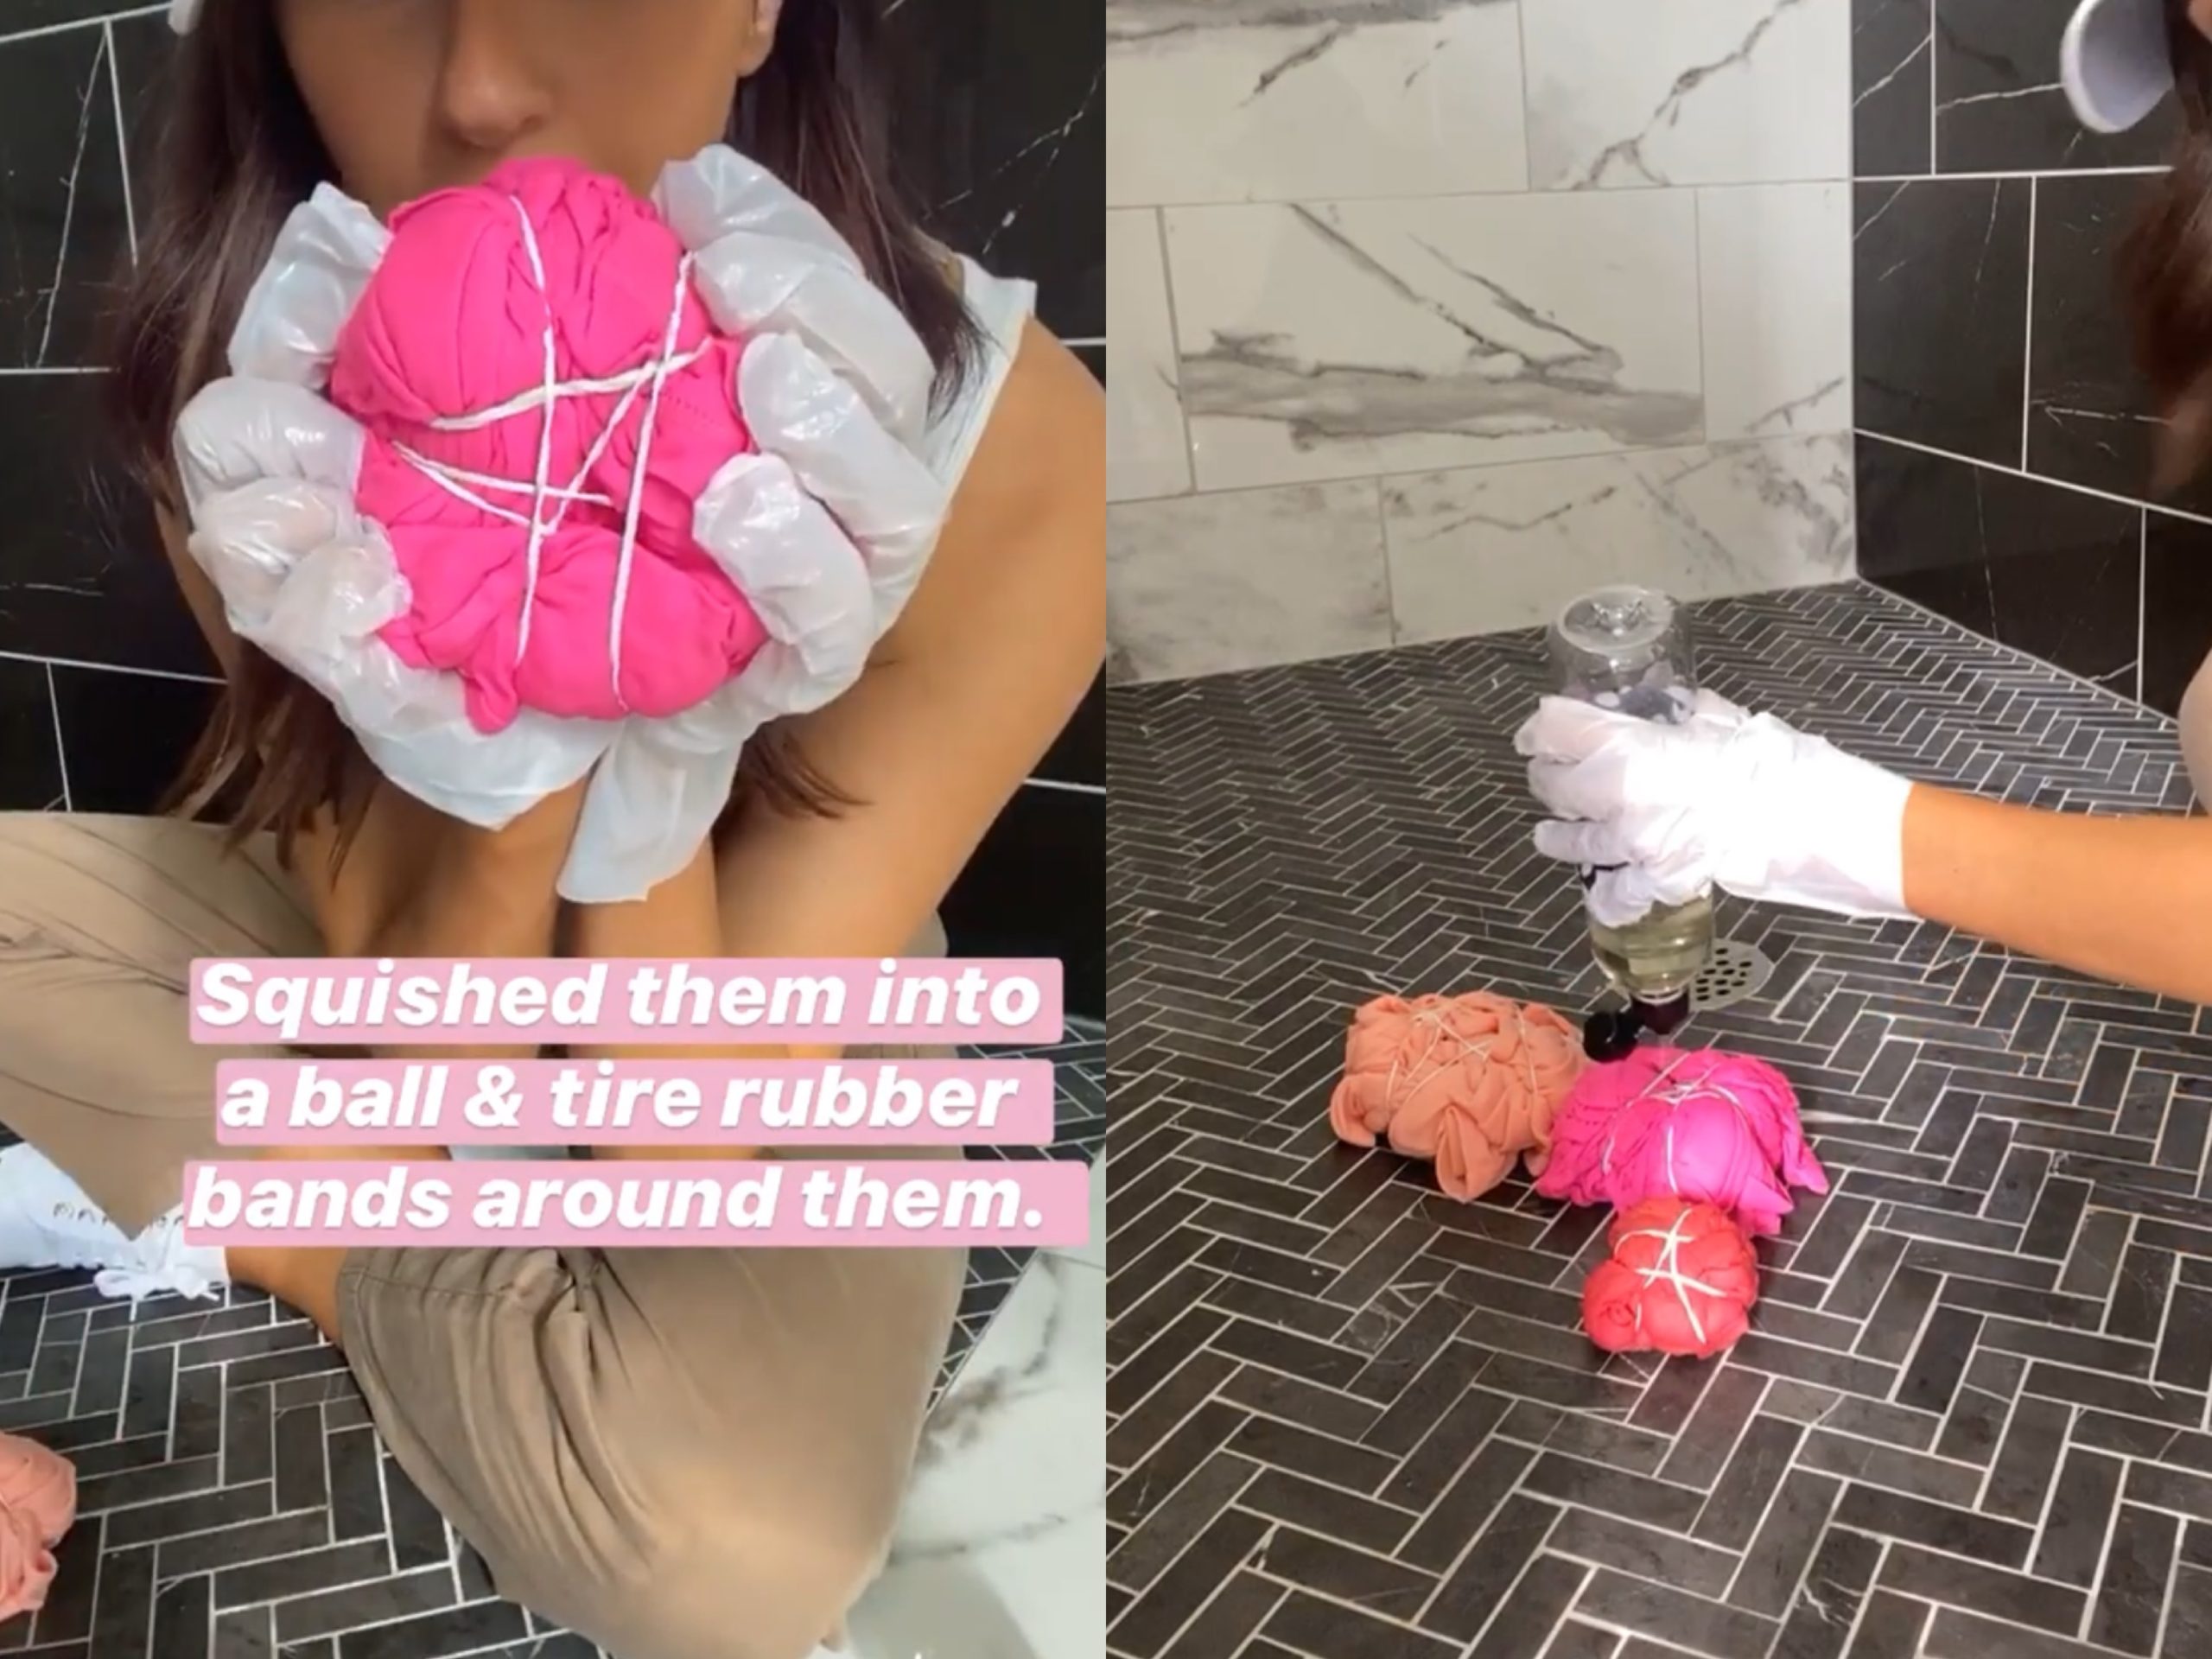
Colorful Tie Dye Kit
What You’ll Need:
- Tie Dye Colors(I used this one here from Amazon)
- Gloves
- Rubber Bands
- Brush or Sponge(for ombre)
- Clothing piece of your choice
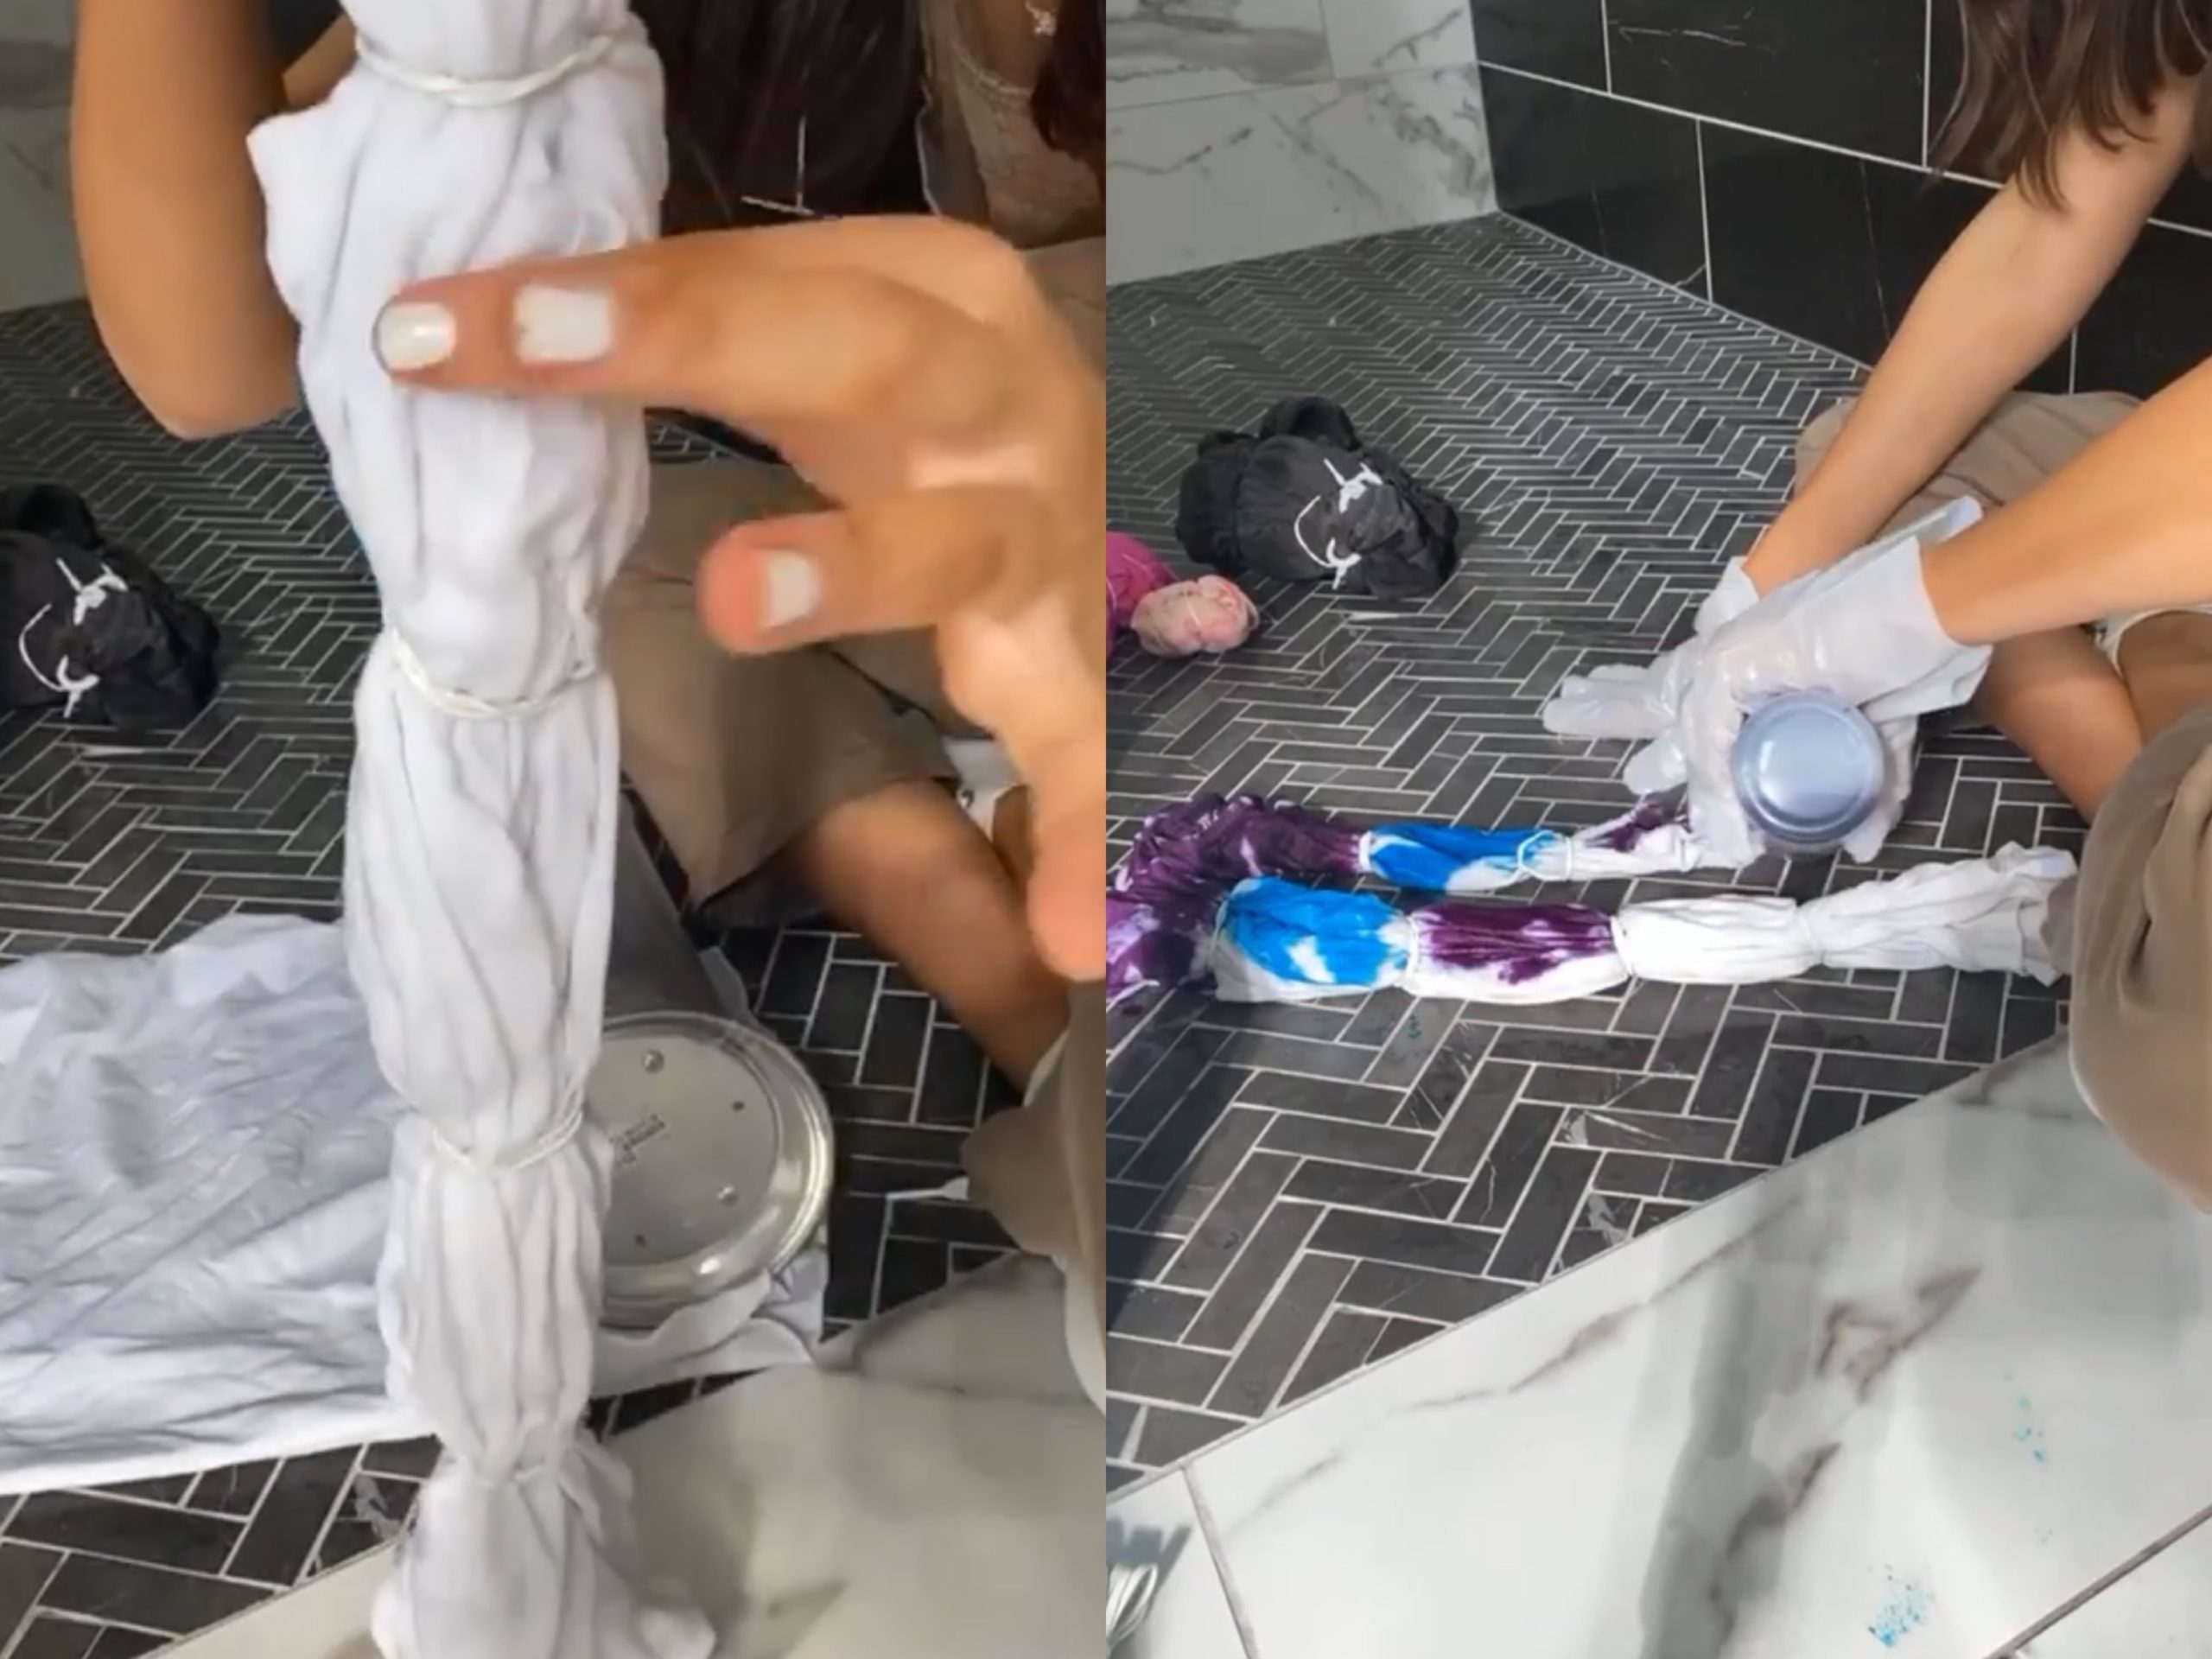
Stripes Design
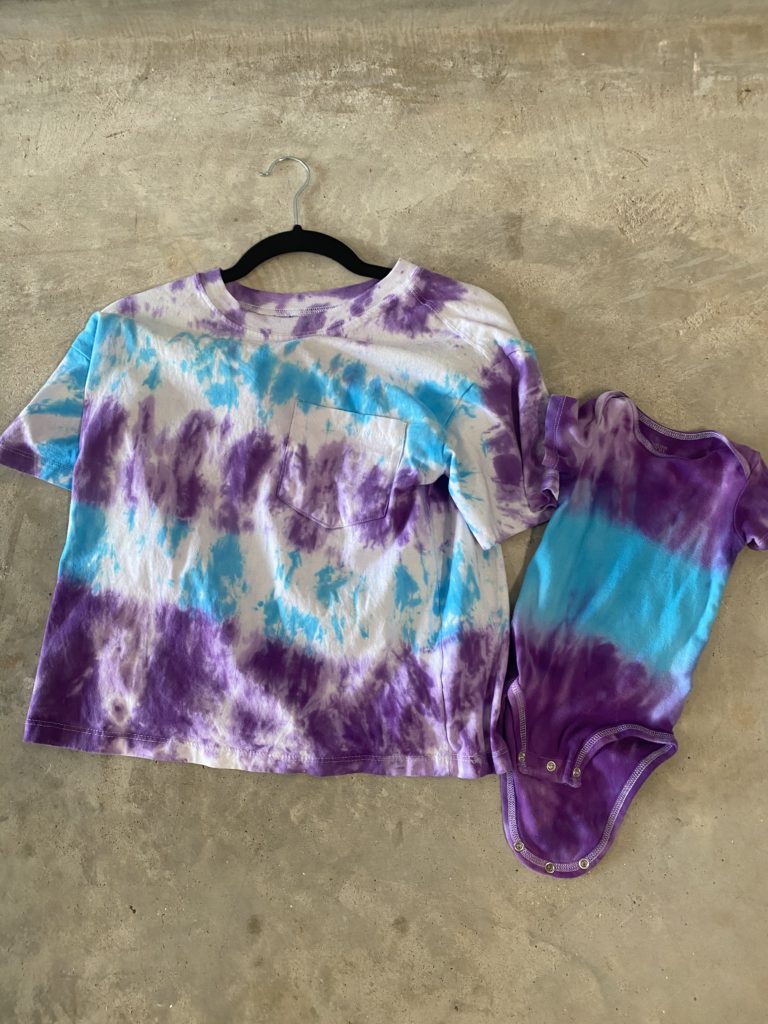
I started by creating sections on the shirt with the rubber bands. Then went through and colored each section. I was told to not put the colors too close to each other or they would mix together and end up looking muddy.
Ombre
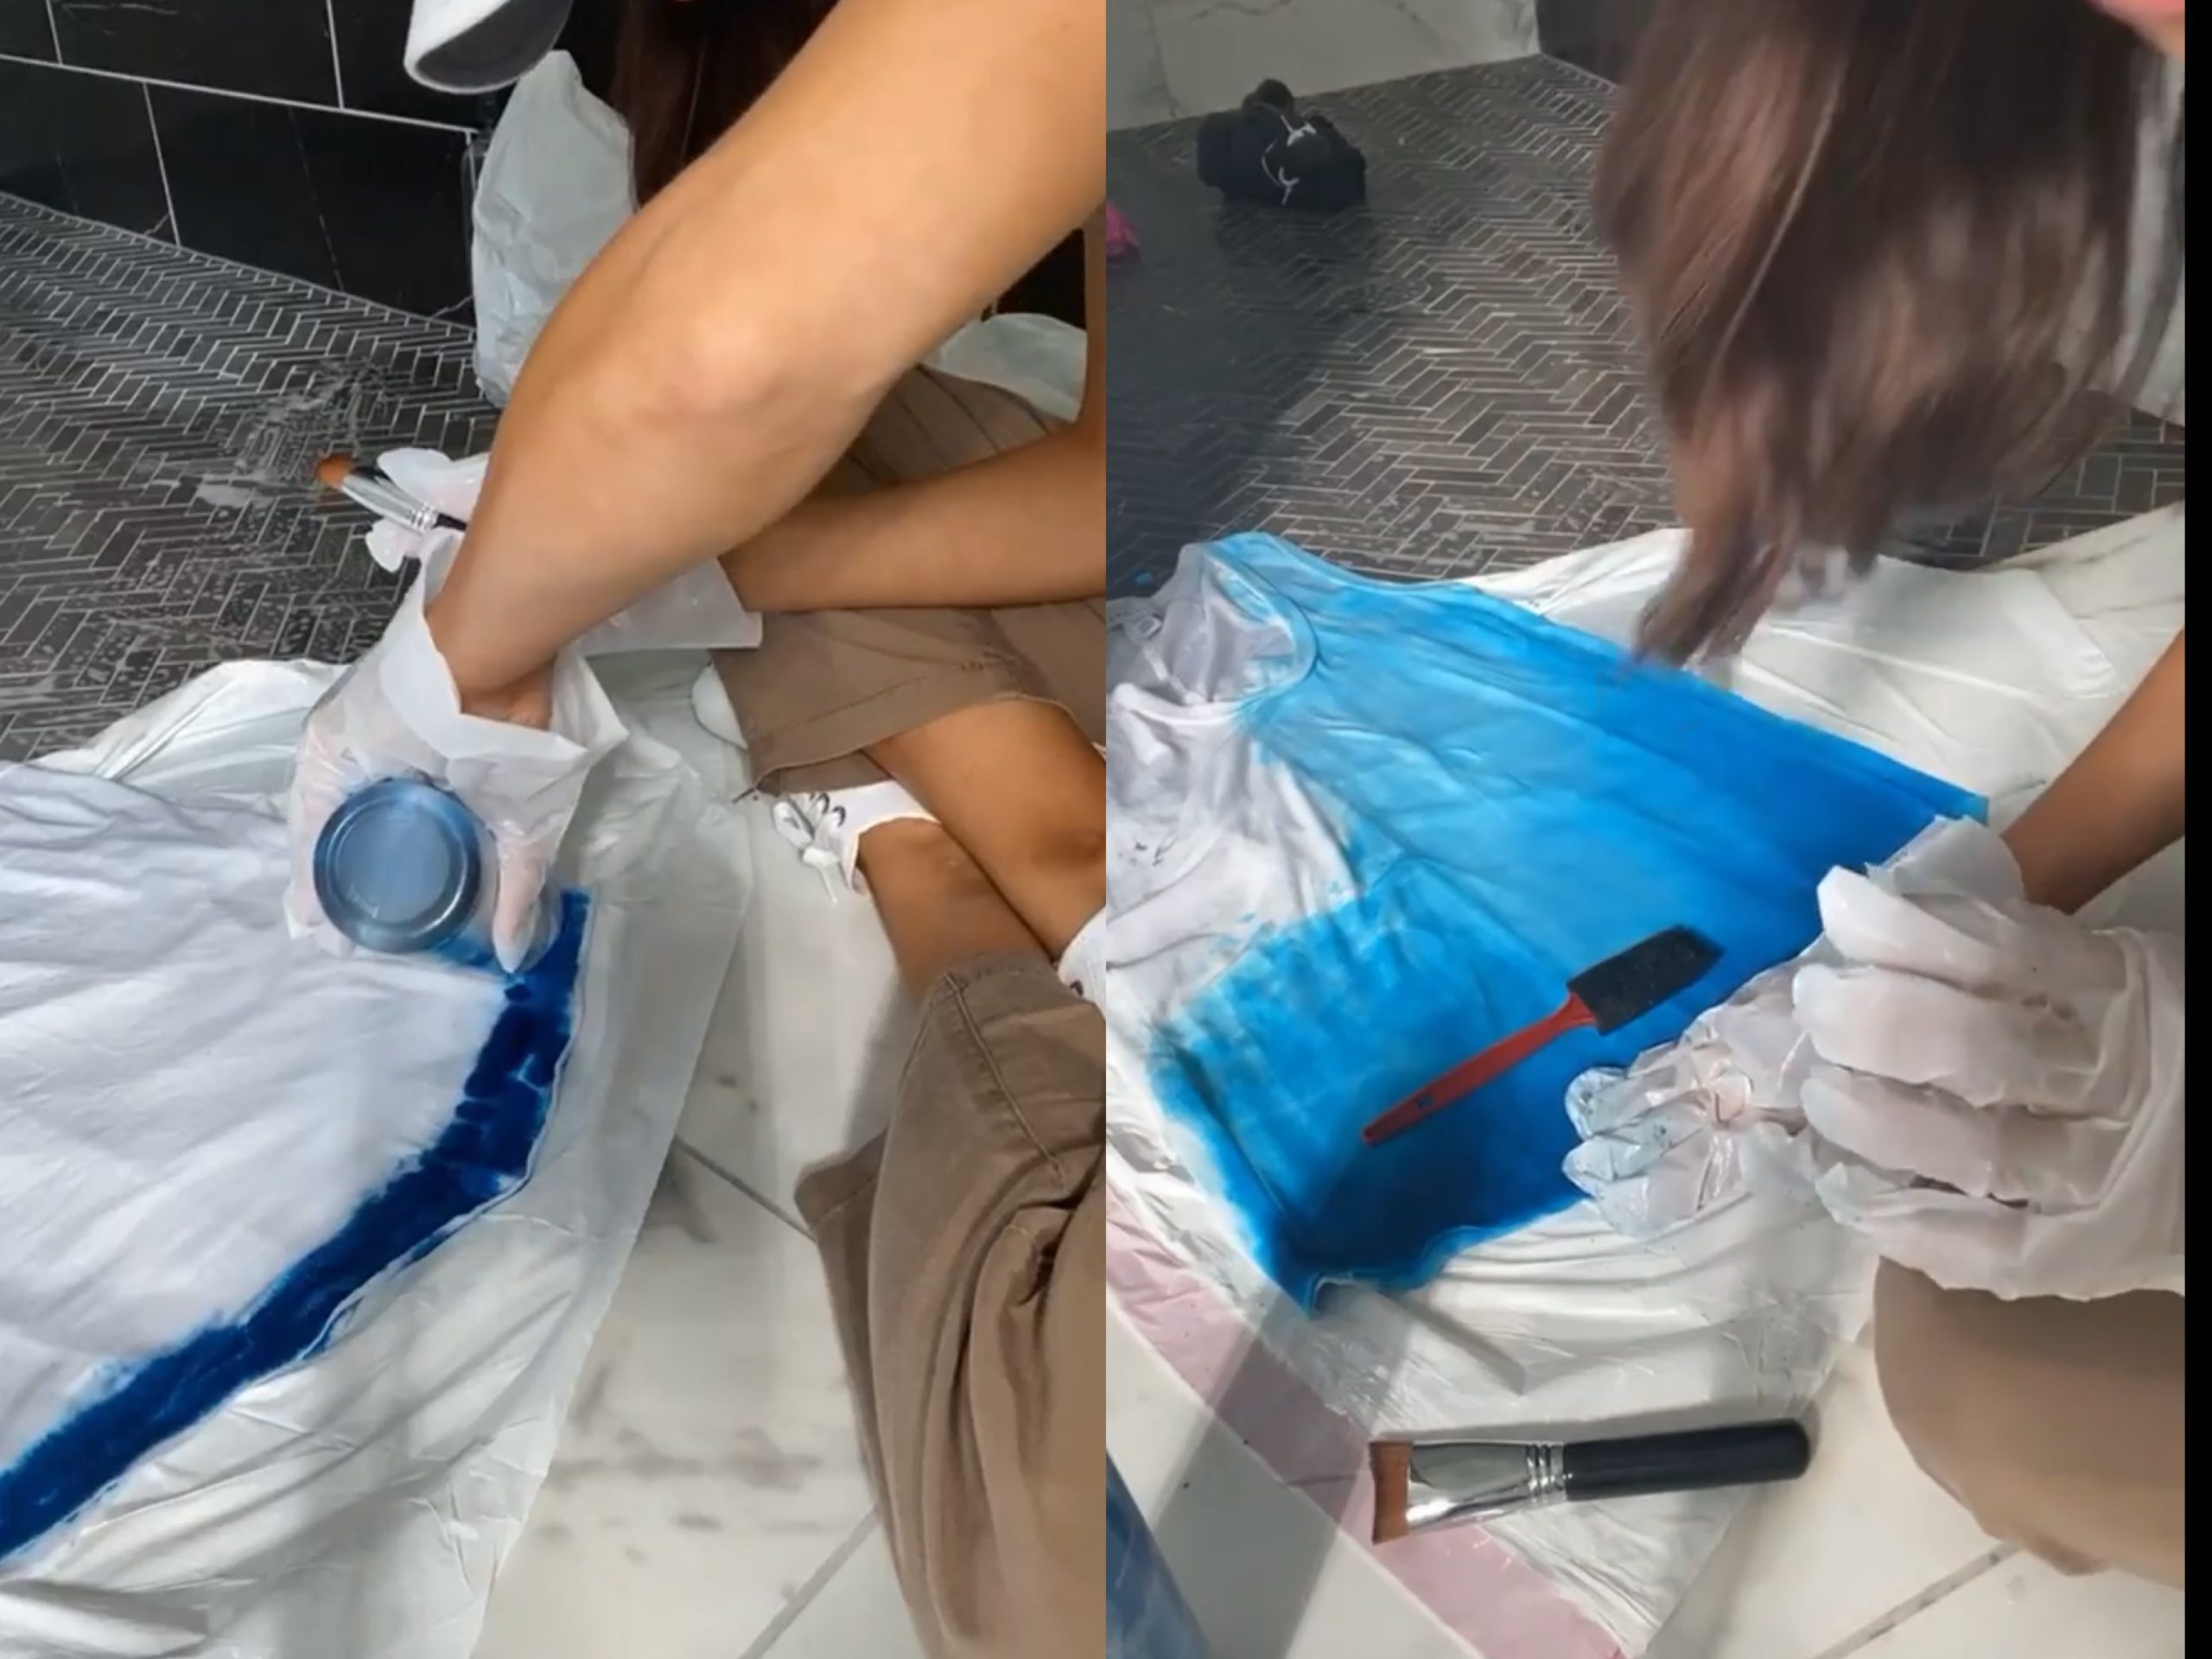
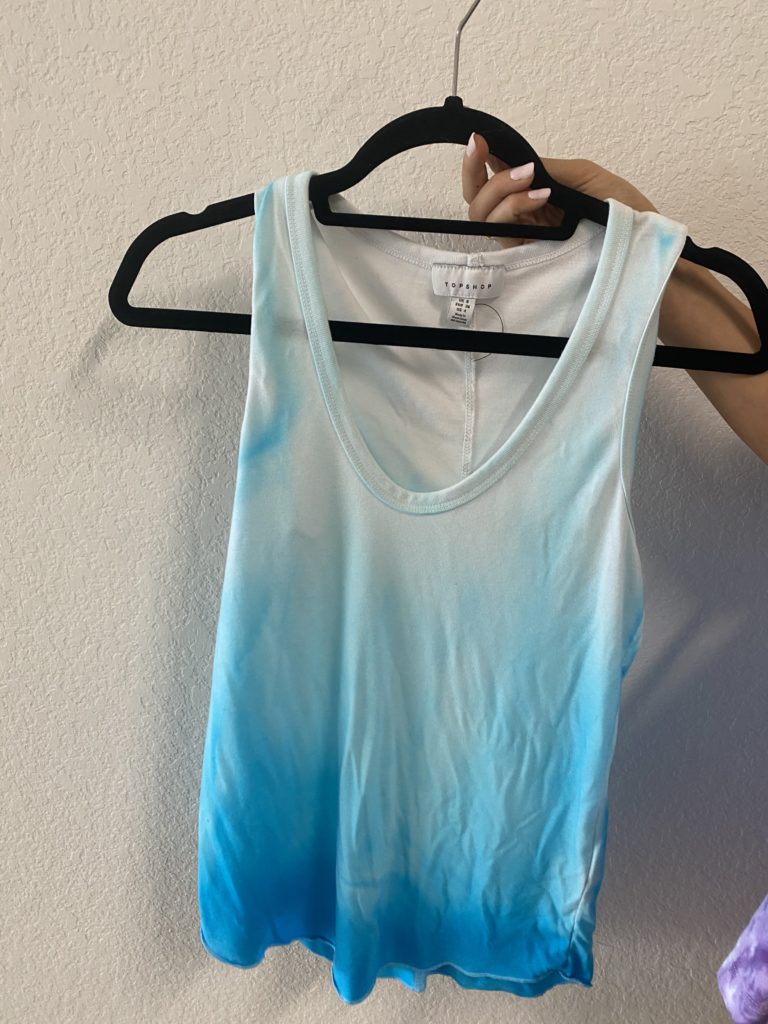
I actually thought this one would be hard but it was pretty easy! You start by putting the color directly on the shirt in a straight line at the bottom. You’ll need to put a good amount to be able to spread to the rest of the shirt. Then you swipe up from the bottom to the top over and over util the shirt is covered. I started out with a brush but changed to the sponge and that worked best! After that let it sit for 6 hours and then wash!
